How To Identify Wood
How to Identify Wood: Visual Clues, End Grain, and Next Steps
Learn how to identify wood with photo-friendly clues, end-grain checks, and realistic limits so you can narrow a species before using a scanner.
If you want to know how to identify wood quickly, a good photo is the fastest first pass. A clear image lets you narrow the field by surface grain, pore pattern, and visible end grain so you can decide which follow-up checks to run.
Photo-first identification gives practical outcomes: a likely category (hardwood vs softwood), candidate species, likely uses (flooring, furniture, trim), and visible defects or treatments that affect care. It does not prove absolute species identity or market value from one angle.
This page shows what visible clues matter, how the app turns photos into candidate results, and which physical checks to run next if you need greater confidence.

How identification works
Step 1
Snap a photo
Take a clear, well-lit photo of your item in the Wood Identifier - Wudora app.
Step 2
Get an instant identification
The app reads the visible clues and returns the closest matches in seconds.
Step 3
Review the details
Compare the result with your photo, review any uncertainty, and check the suggested next steps.
Quick visual checks and wood grain types
Start with surface clues: color and finish are helpful but often misleading because stains and varnishes hide natural tones. Prioritize structural clues that persist through finishes.
Pore structure and grain direction tell you more than color. Open-porous woods like oak show visible pores and long rays, while diffuse-porous species like maple or birch have tiny, evenly spaced pores that are harder to see at arm’s length.
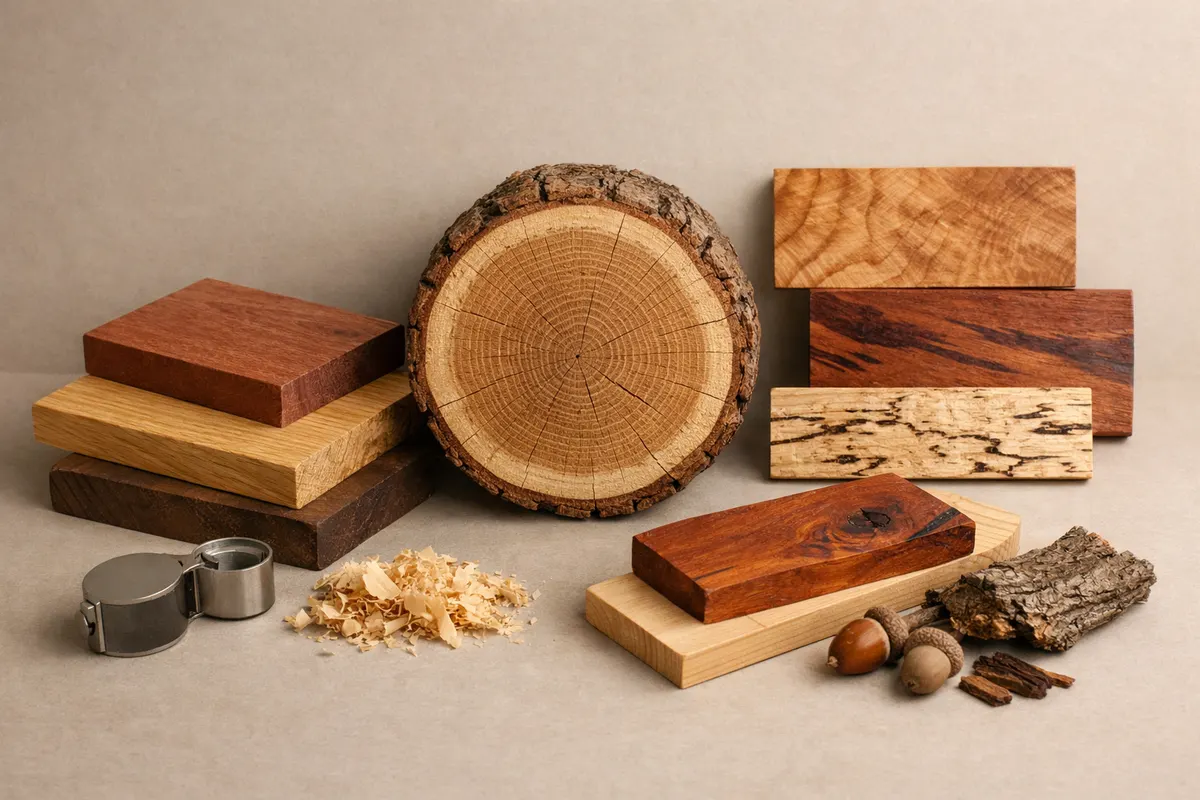
End grain reveals growth ring spacing, ray fleck, and pore size at the source; these details remain visible even on finished surfaces and are the single best visual clue to separate many species.
- Pores: large, visible pores across the board suggest oak or ash; tiny pores suggest maple, birch, or some tropical woods.
- Growth rings: wide, clearly banded rings often point to fast-grown softwoods or ring-porous hardwoods; tight rings suggest slow-grown hardwoods.
- Rays and fleck: pronounced rays on quartersawn boards strongly indicate oak or chestnut.
- Knot pattern and resin canals: frequent knots and resin lines are typical of many softwoods and affect identification and use.
What a wood identification result will tell you
A typical photo identification result lists a confident category (hardwood vs softwood), a short ranked list of candidate species, and the visual evidence supporting each candidate. Expect clear notes on which photos drove the conclusion.
Results include item type when detectable (e.g., flooring, turned leg, or board), likely age range when finish and construction clues support it, and practical care recommendations tied to the identified material.
Because one photo can’t guarantee a match, the report will recommend follow-up images and physical checks to raise confidence—especially end-grain and weight checks for sellers and restorers.
- Report fields: detected category, 2–4 candidate species, key visual evidence, confidence level, and next-check suggestions.
- Example uses: conservation notes (finish removal risk), cleaning and oil recommendations, and whether the wood is commonly used for furniture or millwork.
- For deeper tonal and pore analysis, see Hardwood vs Softwood Identification: Grain, Pores, and End-Grain Checks (https://woodidentification.app/blog/identifying-wood).
Commonly confused woods and tell-tale photo clues
Some woods are frequently misread from a single photo. For example, stained pine can mimic oak at a glance if you only see surface color; the pore pattern and end grain reveal the true family.
Walnut and certain dark-stained mahoganies share similar surface tones; the difference shows in ray pattern and pore distribution under magnification or a close end-grain shot.
Knowing the likely lookalikes helps you choose the right extra images to take before running an identification: an end-grain closeup, a scale reference, and an area showing knots or medullary rays are the most efficient.
- Pine vs oak: check pores and knot frequency—pine is knotty with resin canals, oak shows large pores and rays.
- Walnut vs stained hardwoods: look for subtle striping and ray fleck on walnut; mahogany has a finer, more even pore field.
- Softwood finishes: many softwoods accept stain unevenly—visible growth rings and knot patterns are the giveaway.
Frequently asked questions
How can hardwood end grain identification help me confirm a table leg?
Hardwood end grain identification focuses on pore size, ring spacing, and rays visible on the cut surface of the leg. A close, well-lit photo of the end grain with a ruler for scale lets you see whether pores are large and clustered (typical of oak) or tiny and diffuse (typical of maple), which narrows the species list without requiring destructive testing.
Can softwood end grain identification tell me if a board is pine or fir?
Yes, softwood end grain identification can separate many common conifers by ring pattern, resin canals, and cell arrangement. Pine usually shows distinct, wide annual rings and frequent knots; fir and spruce have tighter rings and fewer resin-filled knots. A macro photo of the cut end with scale is the most helpful single image.
Which photos give the best chance for unknown wood identification if I only have a smartphone?
For unknown wood identification, take a sharp, well-lit surface shot (no flash glare), a close-up of any end grain, and one image showing knots or a cross-section. Include a small ruler or coin for scale. These three images let the app and any expert separate category and reduce candidate species quickly.
How certain can a single photo make a wood identification?
A single photo can often identify the general category and rule out many species, but it cannot prove identity or market value alone. Expect a ranked list of candidates and confidence notes; the app or an expert will recommend follow-up checks like weight, smell, or multiple end-grain angles for higher certainty.
Related guides
Try Wood Identifier - Wudora to narrow candidates from your photos
After you gather a surface shot, an end-grain closeup, and a scale reference, use Wood Identifier - Wudora to turn those images into ranked candidate species and clear next-check guidance. The app is a fast first pass to narrow possibilities; follow the recommended physical checks for verification. Get started at https://woodidentification.app/.